About my work - I get many queries about how I make my maps and what goes on behind the scenes. i hope this page helps illustrate the making process and the amount of work that goes in to creating a map or globe
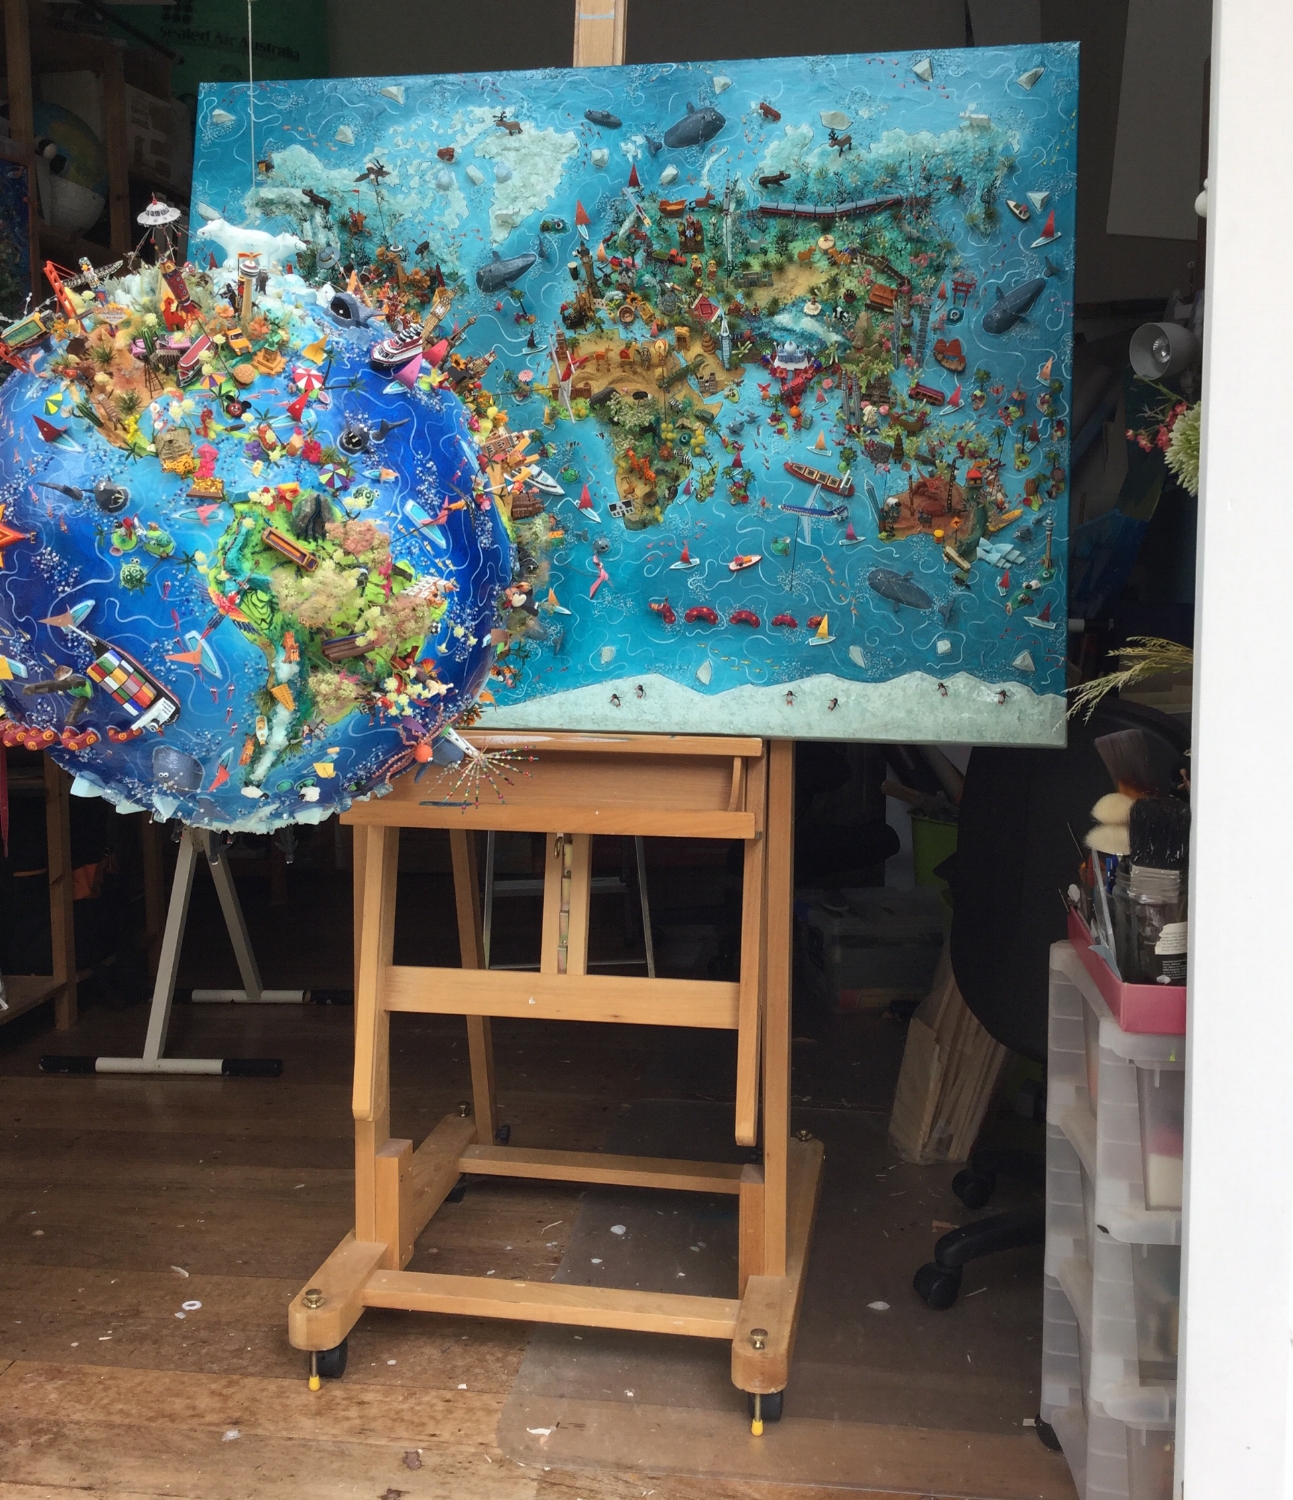
Completed map and globe in the studio
When I tell people I make 3D maps, they immediately envisage me as computer whizz, generating digital images. This couldn't be further from the truth.
My work is a unique combination of painting, sculpture and modelmaking. I can normally be found carving miniature buildings from balsa wood (and bandaging up the resultant scalpel wounds), or with my hands buried deep in a vat of wallpaper paste, as I papier mache the map base.
The maps are all hand-built and painted with acrylics, which give great vibrancy and long-lasting colour. The making process is pretty unique and combines a number of different artistic processes. I also use a huge range of materials - both new and recycled and can frequently be found head-first in a skip, digging for special treasure! I am always looking for new and exciting techniques and materials to experiment with.
Many of the maps are created as one off art works for private individuals, but I also make pieces for advertising and commercial clients.
research
As most maps are made to commission, I try to get the client to provide as much personal information as possible about themselves and the places they want featured.
I enjoy the research process and where possible, working closely with the clients to create the details, miniature tableaux and scenes that pepper the maps. this is what adds the humour and a more personal element to the work, as well as giving the client a truly unique finished piece.

Like most artists, I have to armchair travel the majority of the time when creating a map. My research is normally done on the internet or by looking through old maps, books, magazines and atlases.
Occasionally I have been lucky enough to be invited to make my maps in situ or to visit the places I am featuring. Any excuse to hop on a plane and see a new part of the world is a good one!
making the map base

The papier-mached map - ready for painting
The maps are normally built on a polystyrene board, which is then reinforced with wooden battens for strength and to prevent buckling. This material makes it easy to dig in to the foam, to create the relief features, as well as providing a good surface to fix the finished details into. For flatter pieces, without much relief work, I will sometimes use a ready made canvas and fill the back with foam.
I build up the 3D relief for mountains and other geographical features, using carved foam and then cover this in a thin layer of very fine, tissue paper papier mache.
The next process is to undercoat the base and lay on the base colours of the sea and continents with acrylic paint. Then comes the painted surface detail and a layer of protective varnish, before adding beads, sand, glass etc. to add texture to the map surface. The base is then ready to add the handmade details.

The painted map base - ready for the details to be added.
the details
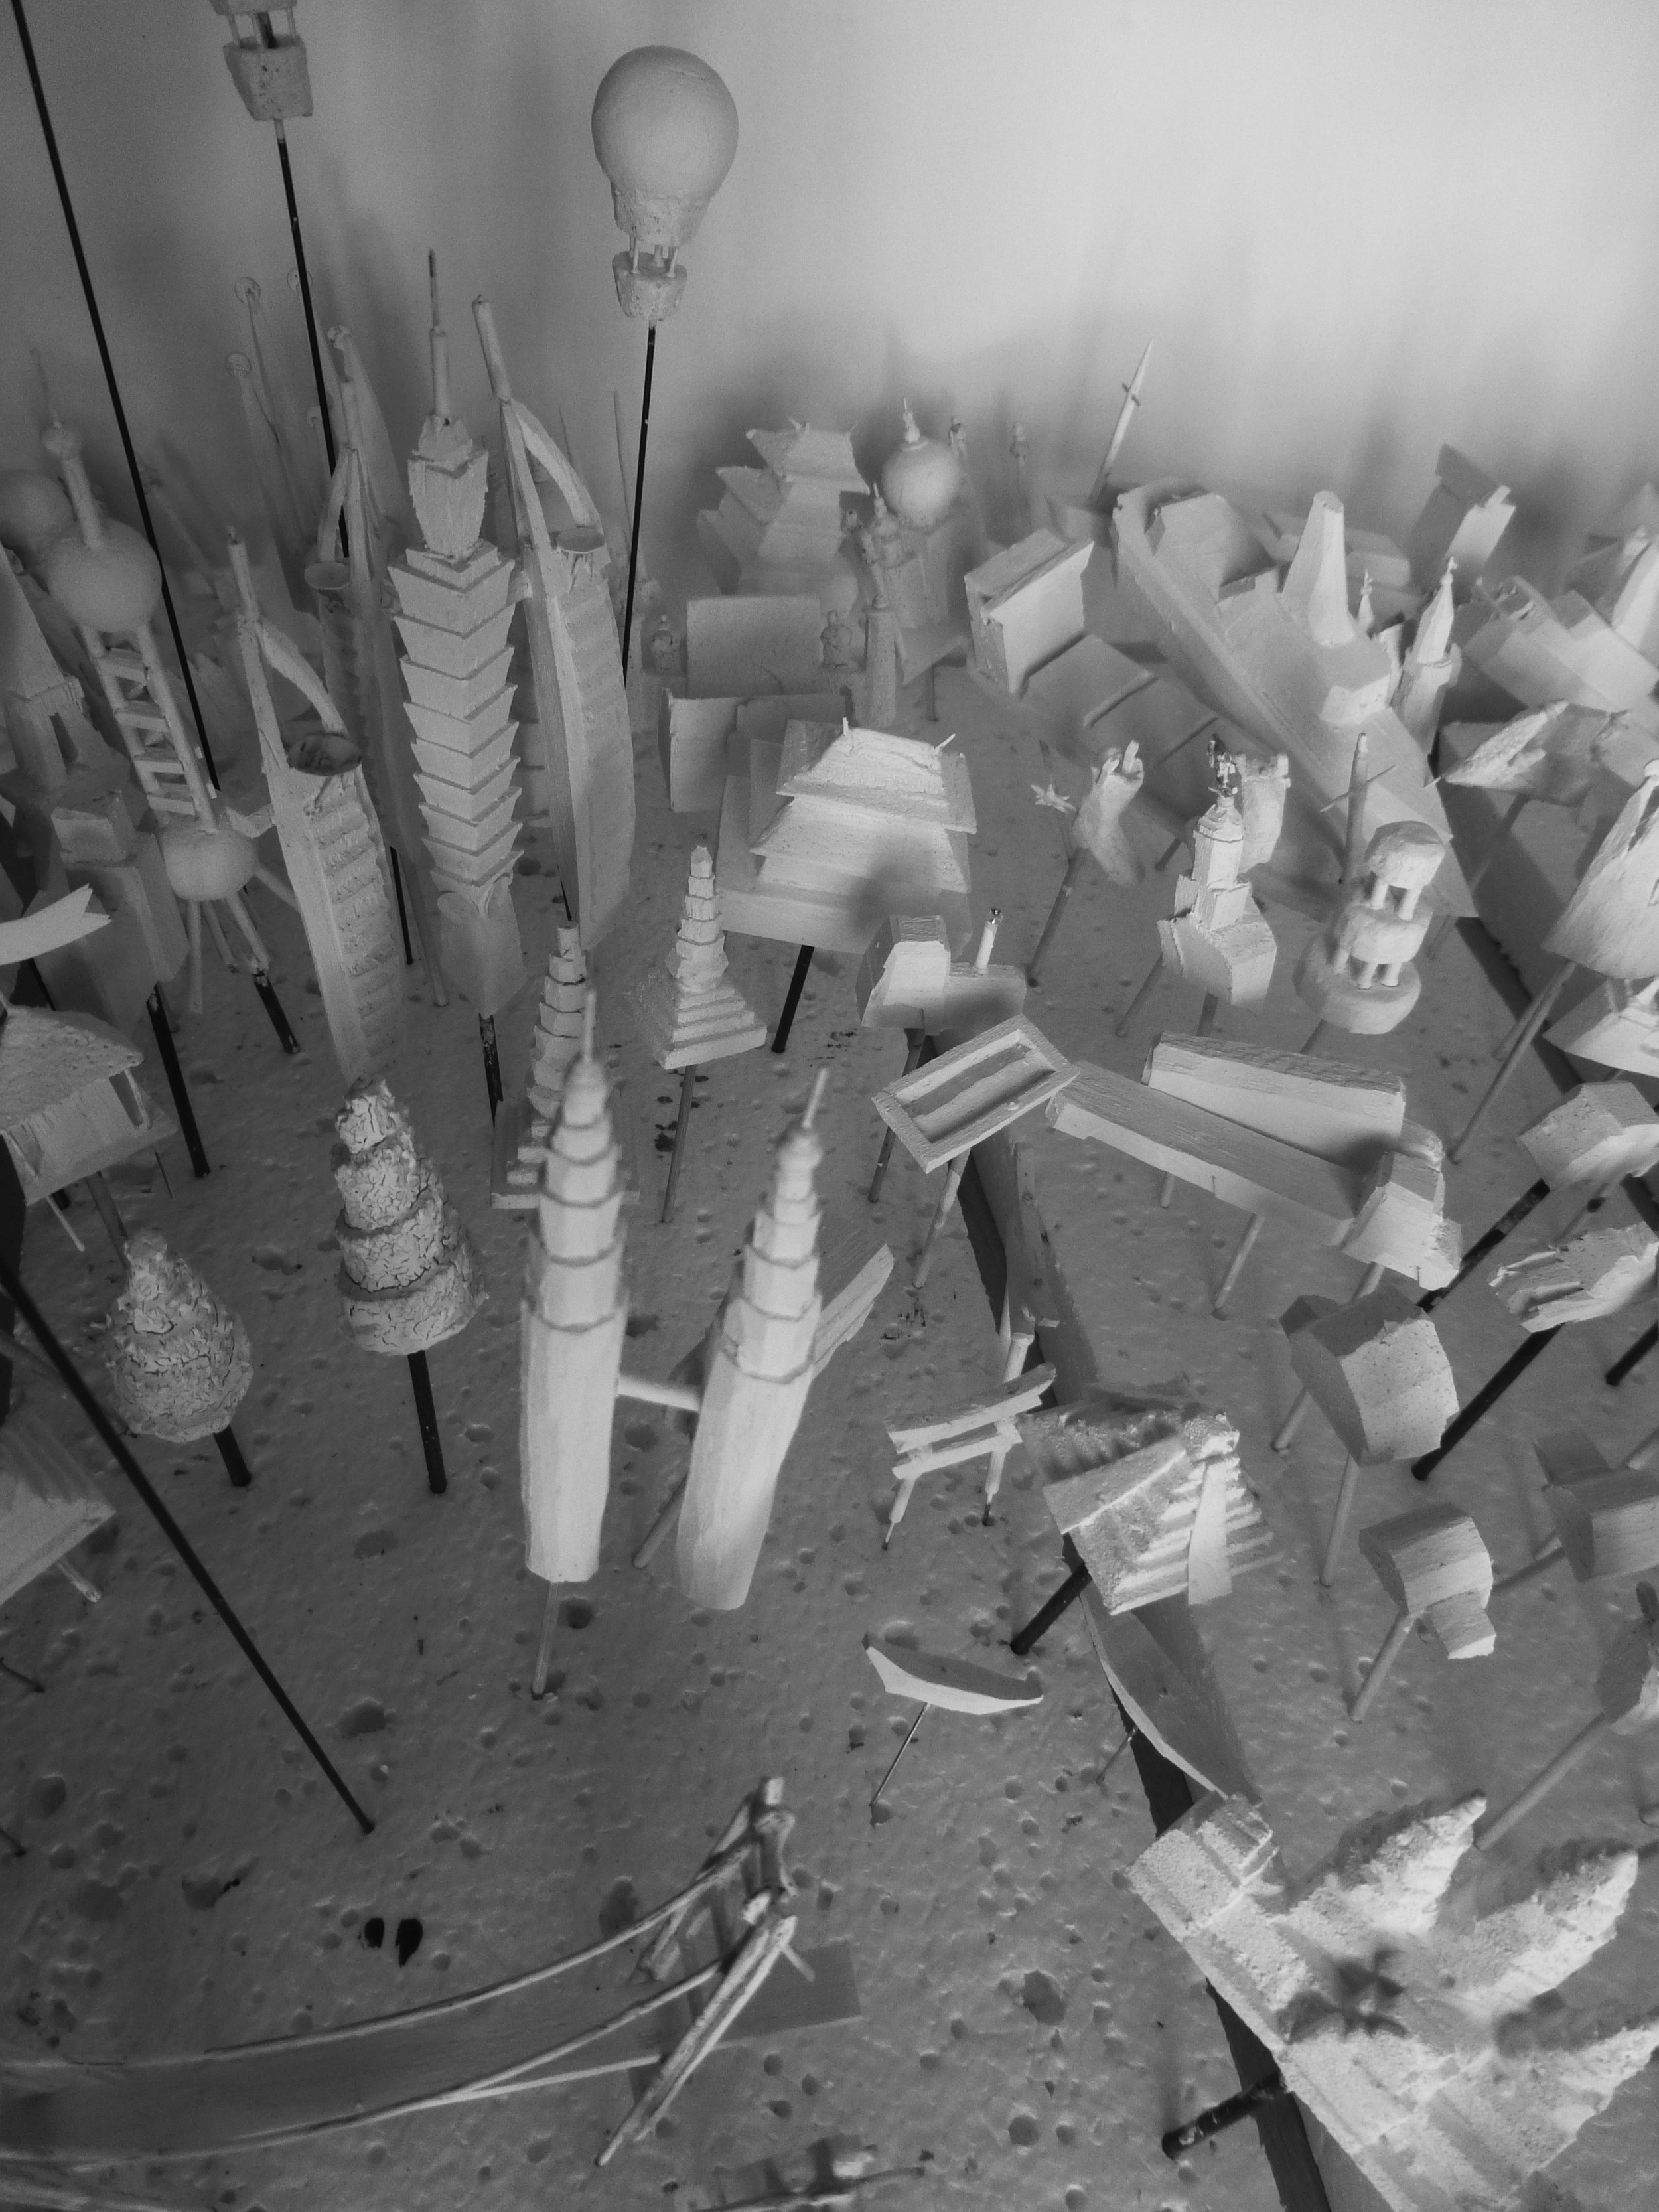
The hand-carved details, undercoated and ready to be painted.
All the features including buildings, animals, people, modes of transport etc. are handmade and hand-painted. Most are carved from balsa wood, but I use a wide range of other materials to achieve the desired effect. These include architectural foam, beads, wire and anything else I can scavenge or salvage that looks like it might one day come in useful.
The details are all undercoated and finished with acrylic paint, before being added to the completed map base.

The finished 3D details, ready to be added to the map base.
Once all the elements of the map are made, it usually comes together quite quickly and the fun part of sticking everything on starts! The major features and buildings go on first and then I add the transport, people, animals and plants to complete it.
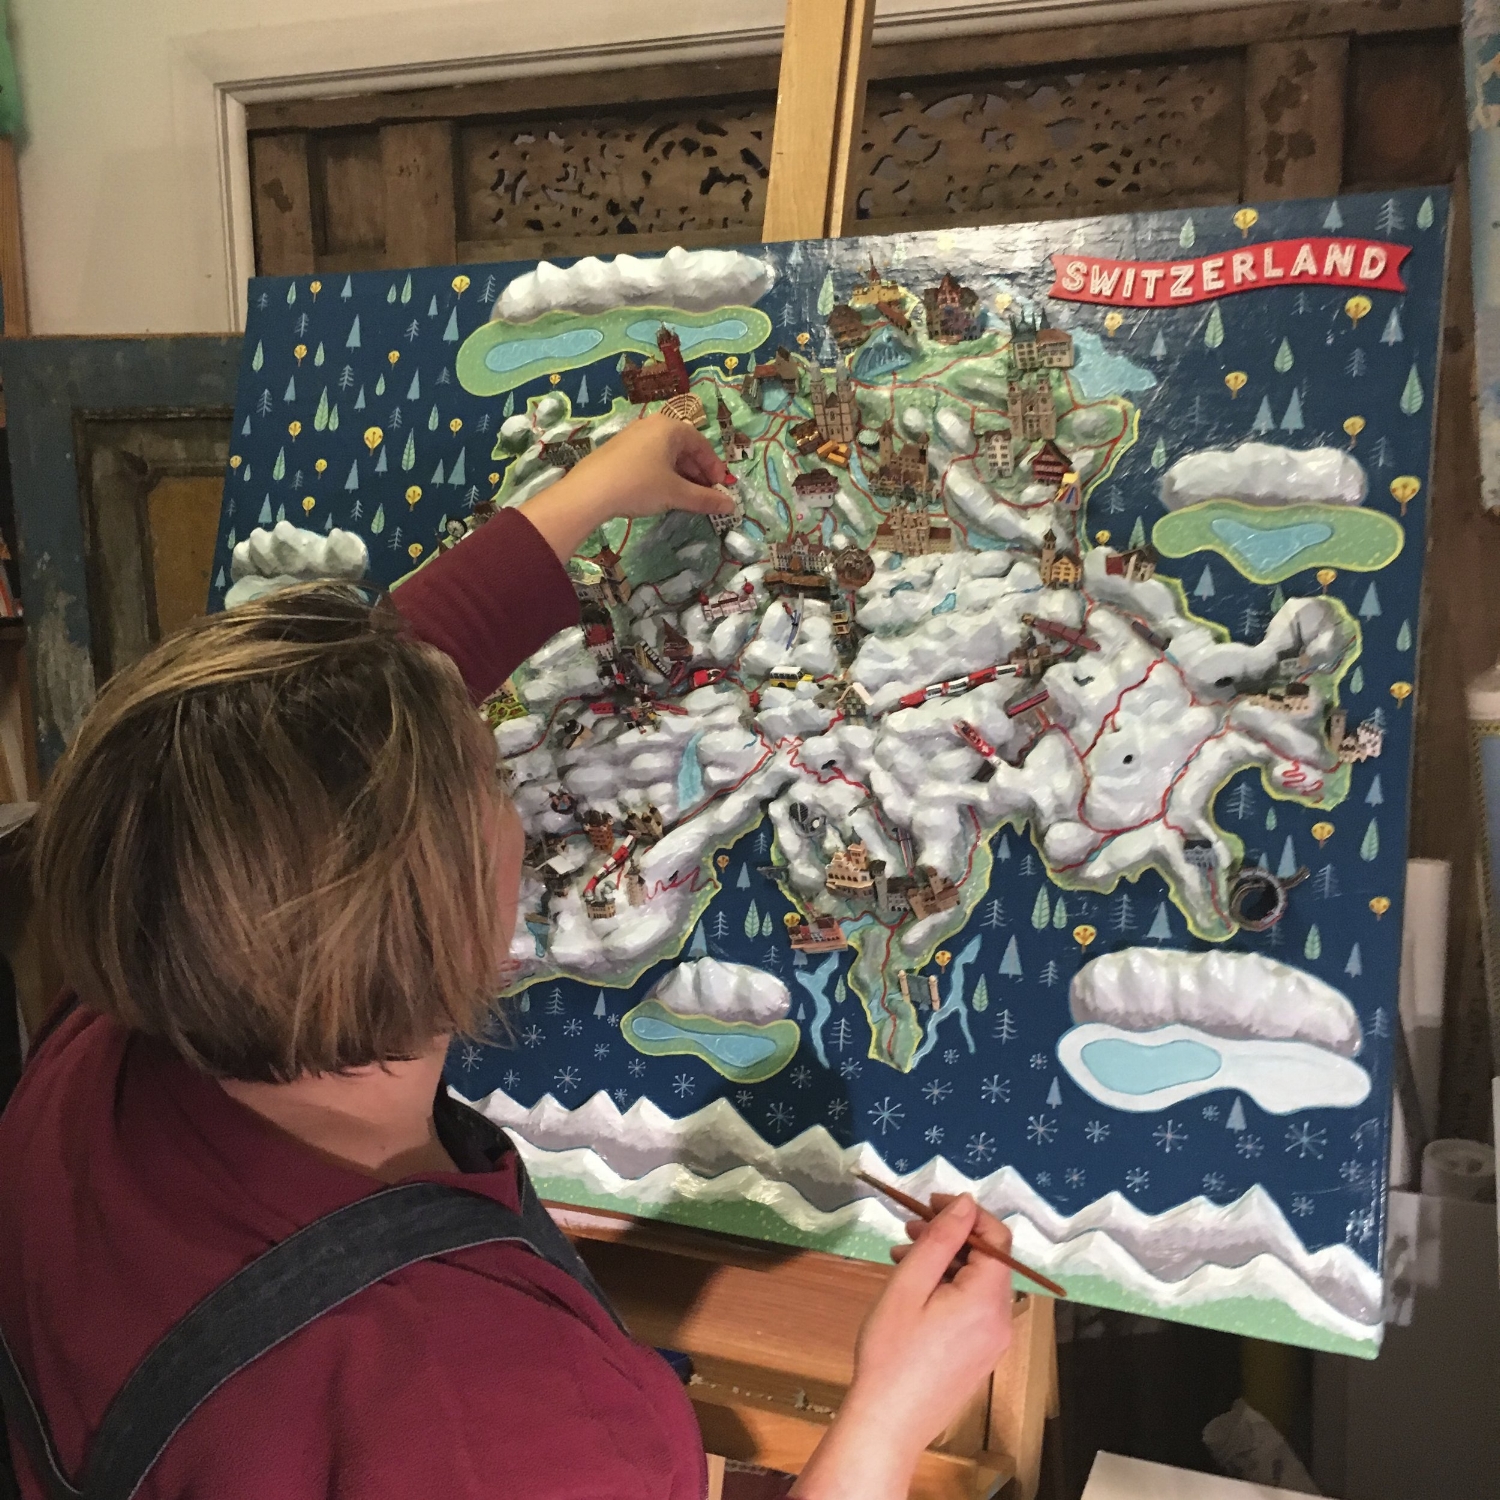
Adding the hand carved features to the relief map base of Switzerland
display And Maintenance

Maps are designed to be seen both flat or hung on the wall. Details are set at an angle to the surface so you can see the front, rather than the top of buildings.
The maps are usually designed to be hung on the wall - all the features are attached to the map and angled upwards at around 45 degrees - so that when the maps are hung, you are looking at the front of the buildings rather than the tops. Other maps are deliberately made to be seen on a flat surface or table or under glass - most work well both ways - but they can all be adapted to specifically suit the final place of display.
The features are all fixed on securely, with a transparent wood glue and the maps are safe to be handled gently for cleaning purposes. However, they are not toys and should be kept away from the hands of inquiring small children! They can be cleaned with a large soft brush - such as a make-up or blusher brush.